Chromebooks are currently one of the top laptops loved by many users. Similar to many other laptop or PC brands, the need to connect a Chromebook to a projector is essential in both work and everyday life.
How to connect a Chromebook to a projector? This article will help you better understand the step-by-step guides between two devices.
Let’s read on to discover!
Contents
Can You Connect A Chromebook To A Projector?
You can connect your laptop to a projector in various ways. The contrast ratio or the type of lens in the projector’s construction largely determines the quality of the output image.
But you may not know, looking for a good connection machine also increases the image quality significantly.
Besides, the problem of the number of plug sources linking the projector with many signal sources is also an issue that each user needs to pay attention to.
There is uniformity in the shape or number of input connections among projectors on the market. It allows the laptop to easily link to the projector via multiple signal sources.
The usual standard of projectors is a composite socket. With the non-stop upgrading over time, you should also refer to the types of products with sockets compatible with Chromebooks. It falls into the following three categories:
- Both sockets are HDMI
- The projector falls into the situation of having to convert to HDMI
- Using the Google Cast option, the wireless connection option.
How To Connect A Chromebook To A Projector?
Use a cable
Chromebooks have a similar form factor to other computers.
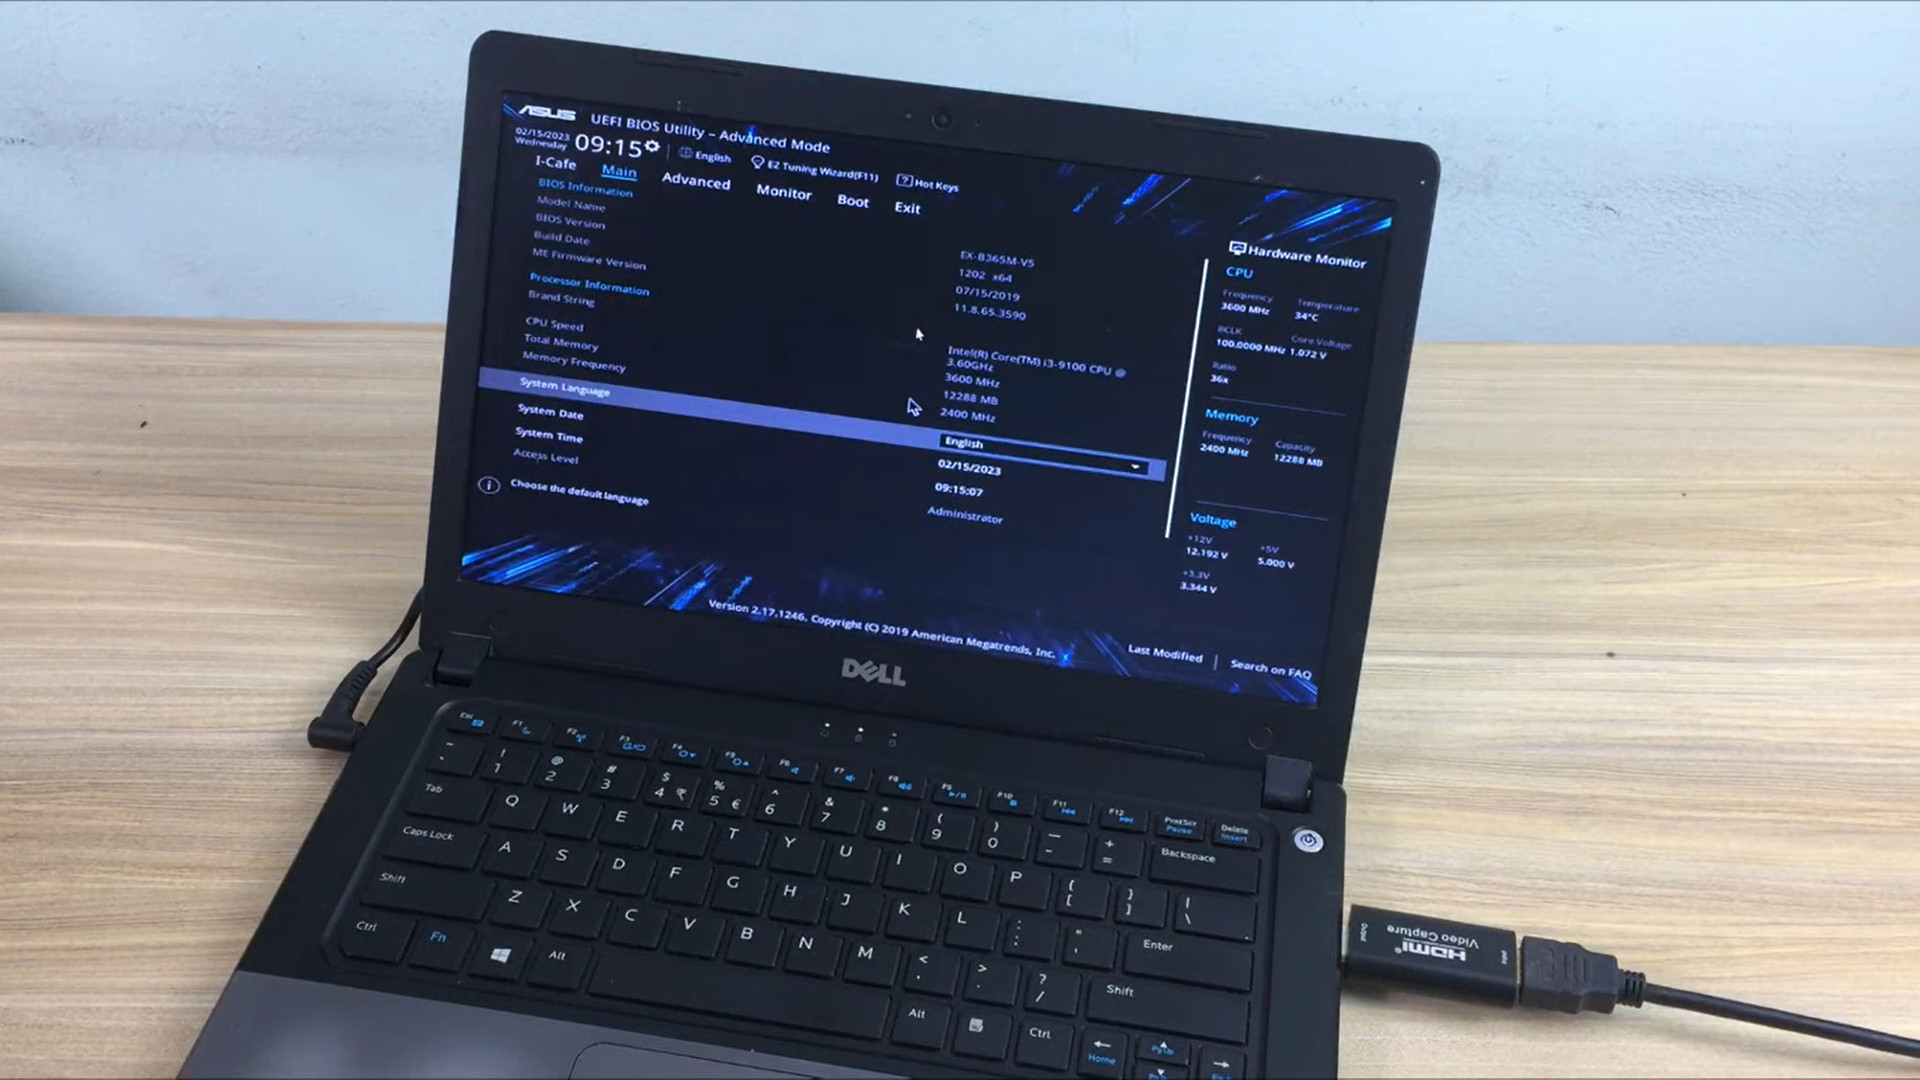
The connection ports are usually on the left side. If you want to do the linking steps, first take a close look at the parts here. A control panel with annotation icons, just opposite, is a USB socket and a small connector.
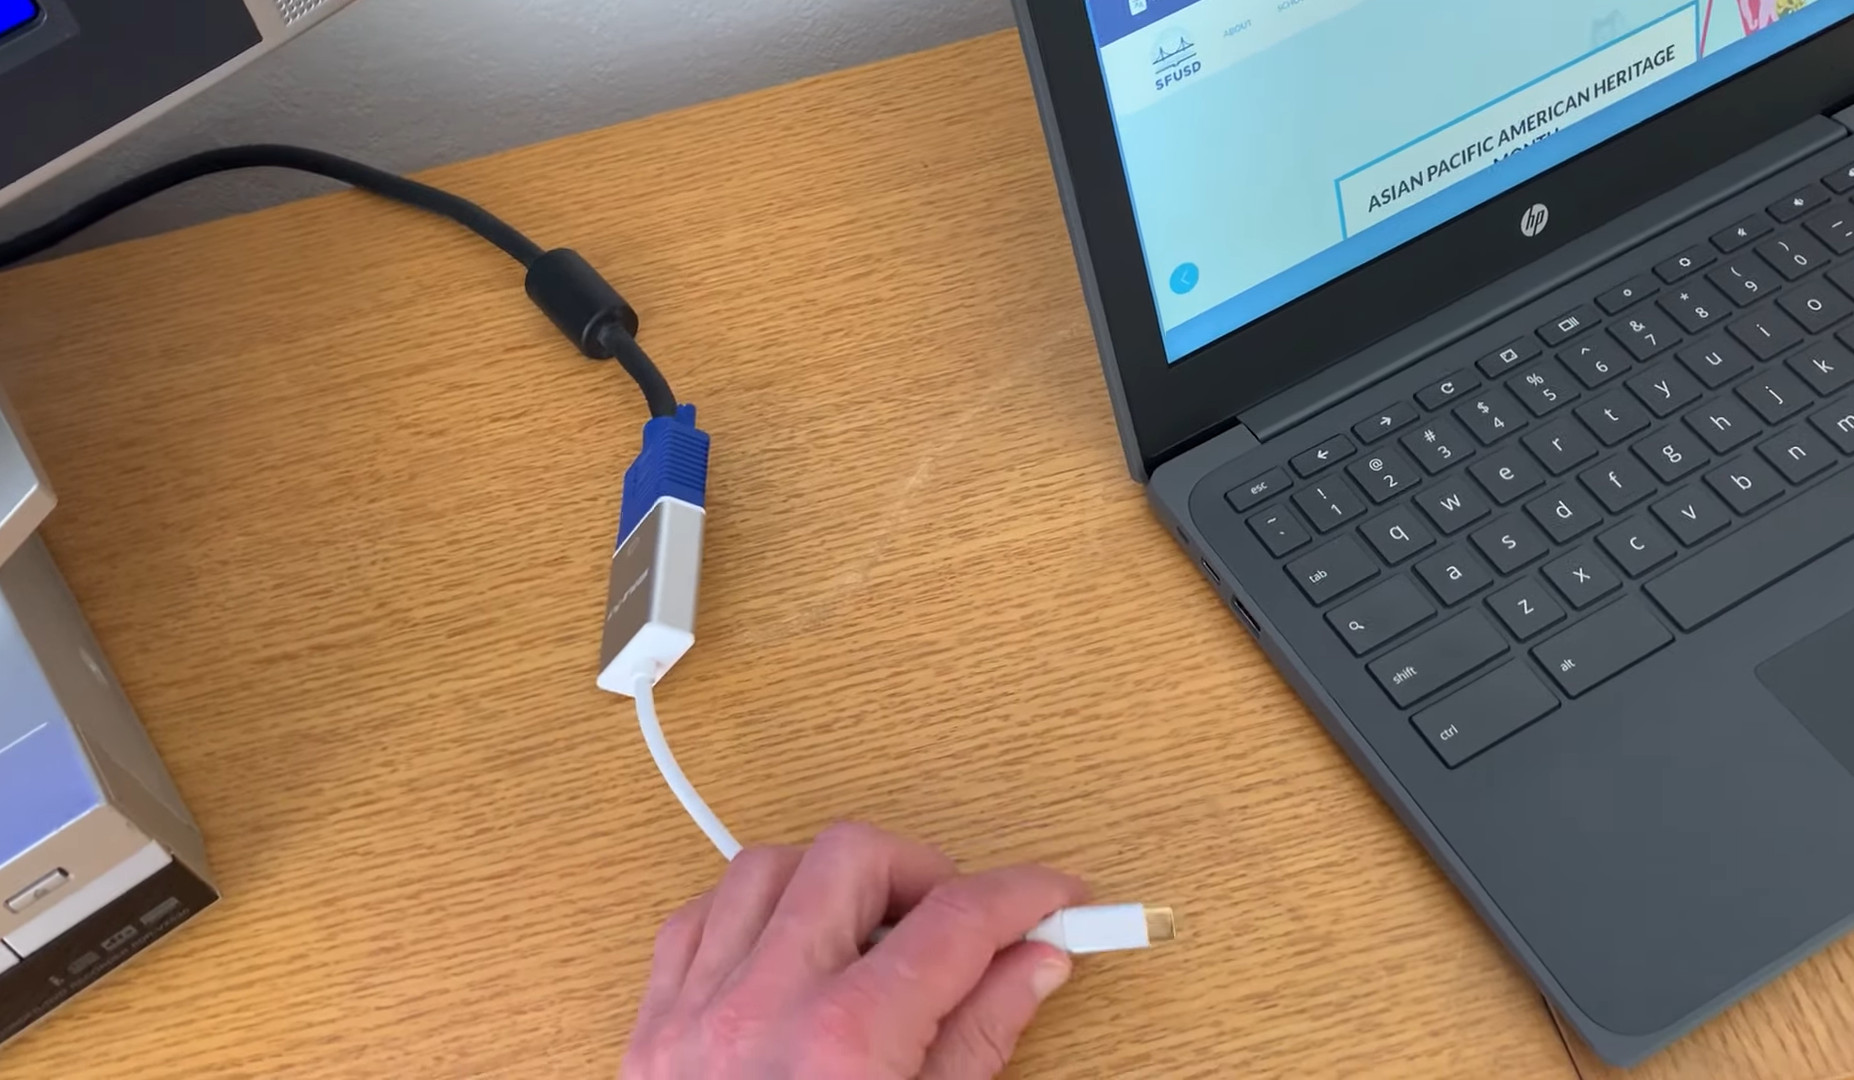
Users need to know such sockets to take measures to connect the projector device and Chromebook. It would help if you retrofitted your one with a video adapter with a VGA connector compatible with your current projector.
The use of cable is essentially a wired connection made through transmission lines, such as HDMI or VGA. The steps are as follows:
- Step 1: After connecting the matching wires, press the control button to start.
- Step 2: Click on the button on the V key with a square and round icon.
- Step 3: Long press the control button, and the screen mirroring link function will start.
The mechanism works largely thanks to the VGA transmission port, which allows you to transmit the signal to the linked devices.
The information transmitted to broadcast images, and videos, or how to control the mouse and keyboard wirelessly is through this transmission port.
Besides connecting the Chromebook using a wired cable, users can also do it using a wireless wifi network. It makes the implementation a lot easier.
Related: Can an iPad be hooked up to a projector?
Google’s Chromecast device
Wireless screen mirroring is a popular choice because it brings a lot of convenience to users. What’s needed for this method is an HDMI connector followed by a Chromecast streaming device.
When you want to use it first, you need to enable the HDMI socket by the following methods:
- Method 1: If the projector has a USB, you only need a micro USB cable to connect the kee6ts to the projector.
- Method 2: In the accessories that came with the Chromecast, an adapter that connects directly to the outlet is included.
Step by step to follow:
- Step 1: Turn on the projector power to start and connect the device to the socket of the HDMI port.
- Step 2: If you are already using a streaming device, the login steps to grant access are unnecessary. But conversely, you may have to follow the instructions to set up your account and a streaming device.
- Step 3: Connect the device you want to stream to the network.
- Step 4: At the computer, Log in to the browser and do the following: Commune the “three dots” button on the top right, then press “cast”
- Step 5: Select the streaming device on the
- Step 6: Once the list has opened, tap on “Source” and select Cast on the screen.
FAQs
1. How do I project HDMI on my Chromebook?
Below are the steps to connect the projector to your Chromebook via HDMI.
- Step 1: Plug one end of the HDMI cable into the computer to transmit the image.
- Step 2: The other hill plugs into the opposite side of the transmitter screen.
- Step 3: Start Booting or Powering Your Chromebook
- Step 4: Boot up your Chromebook.
- Step 5: Turn on the TV to start, and connect through the instructions.
- Step 6: Now that’s done, the projected screen on the TV is the picture you want to output through your Chromebook.
2. Does a Chromebook have an HDMI input?
Not some, but almost all Chromebooks have at least one HDMI jack, which is on the left side of the computer. However, if there is no HDMI port, do not worry because it is entirely possible to convert it to USB.
3. What ports are on a Chromebook?
Depending on the Chromebook line, the number or type of ports is not the same. But usually, they all exist the following types:
- AC power connector
- USB 3.0 connector
- Memory card (SD/MMC) slot
- HDMI connector.
- Combo audio jack.
- USB 2.0 connector
4. Does a Chromebook have a USB-C port?
Every computer has at least one USB-A or USB-C. However, we cannot be sure of this because it depends on many manufacturers.
Objectively speaking, a Chromebook is not a specialized piece of hardware but a laptop running the Chrome OS operating system.
Conclusion
The above article has compiled for you the ultimate guide on how to connect a Chromebook to a projector.
In addition to specialized laptops or PCs for image projection, Chromebooks are increasingly popular, especially with office workers.
I hope that the information in this article will be helpful to you. If you have any questions, please leave a comment, and we will answer you as soon as possible.
Thank you for following this post!