What if you want to enjoy your favorite shows, but the TV is unavailable? A homemade projector with a big screen is an affordable substitution, which will level up your entertainment experience.
The tasks of setting up a homemade projector may sound complicated, but the actual steps are very simple and easy to follow. It is also much cheaper than buying a projector from the store.
This post will discuss “how to make a homemade projector with a mirror” and give you detailed instructions to follow.
Learning to create things will add more fun to your life. Ensure that you follow each step carefully to achieve the best result.
Contents
What Do You Need For A Homemade Projector?
The components are very basic and easy to find. You will set up a box to place your smartphone and magnify its image on the projected screen via a special glass lens.
Here are the items required to set up a complete homemade projector. Ensure that you gather all the items at hand to make the process easier.
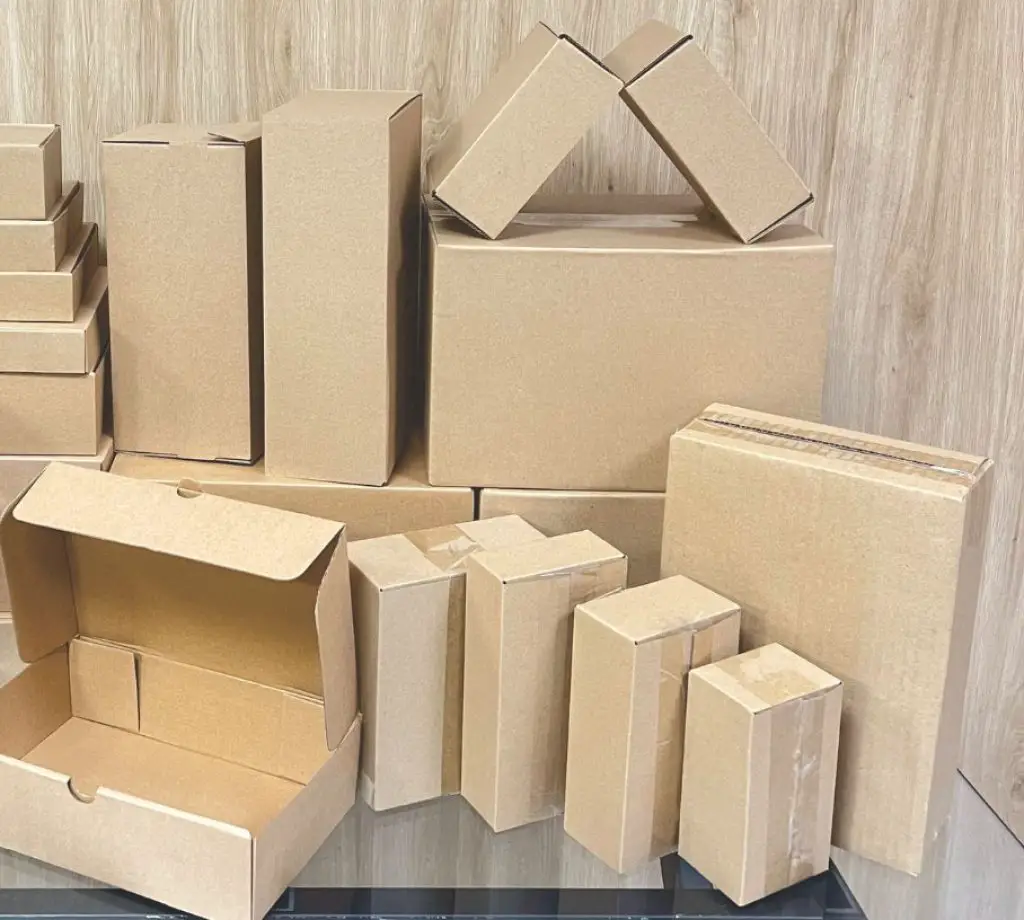
- A thick cardboard box of rectangular shape.
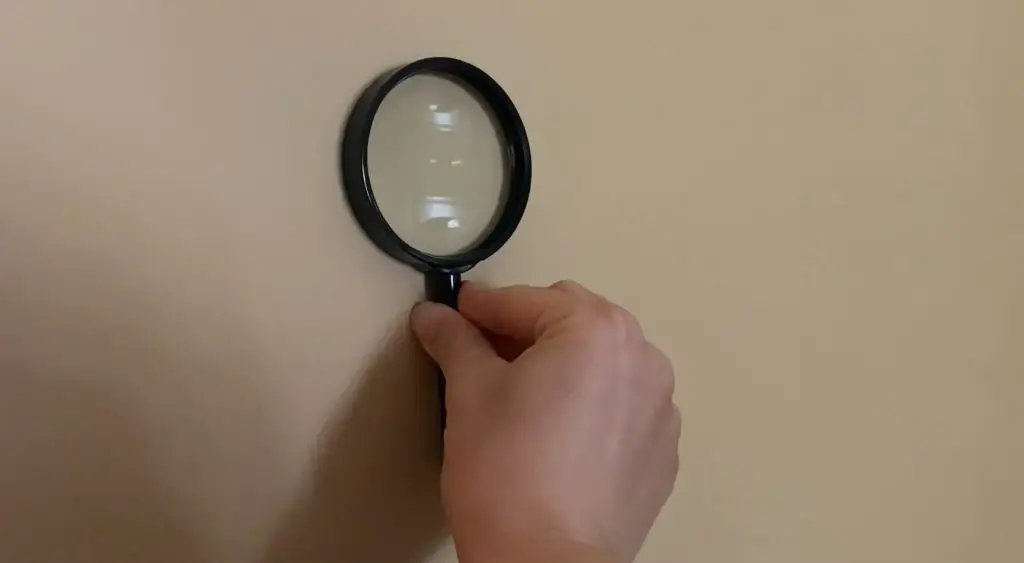
- A magnifying glass
- A mirror
- A smartphone
- A knife or scissor
- Tape or silicone/glue
- A ruler and pencil
- A phone holder
- Black matte paper
The rectangular cardboard should be cuttable with flat surfaces; you can use the shoe box to replace it. It would be best to have a protractor, but this item is optional.
How To Make A Homemade Projector With A Mirror?
After you have prepared all the necessary components and tools, follow these simple steps to set up a homemade projector with a mirror.
Step 1: Cut The CardBoard Box
First, you need to cut a circular hole on the small side of the rectangular cardboard or shoe box. This circular hole must have the same diameter as your magnifying glass.
To do this task, place the magnifying lens in the center of the outer surface of the box. Use your pencil to draw the rear of the lens to form a circular print.
Now use the knife to cut a small space on the mark and slowly cut the pencil print with your scissor. Be patient and careful with this step, as a small flaw can ruin the hole, and your magnifying glass cannot fit in.
Step 2: Cover The Interior Of The Box
The next step is to cover the interior of the box so that no light can get inside. This step ensures that your image won’t be affected by the ambient light.
Use the black matte paper and stick them to all the interior surfaces of the box with glue or one side tape. A faster way is to paint the surface black, which is faster and takes less effort.
If you use black paint, remember to put on a facemask to protect your lung and wait for 5-10 minutes for the paint to dry.
Even a small ray of light can ruin your image’s quality. Ensure that all the edges, corners, or small holes in your box are covered with black matte paper.
Related: Best projector under 500
Step 3: Place The Mirror To The Bottom
After the layer of paint has dried up, apply glue or silicone to the inner bottom surface of the box. Place the mirror on the surface and hold for a few minutes for the glue to stick.
Now place the magnifying glass in the cut circular hole. If you have done the previous step correctly, the glass will fit perfectly onto the hole.
Use tape or glue to hold the lens in position.
Step 4: Construct The Phone Holder
A phone holder will help you hold and adjust your smartphone’s position to get the best reflection of its image in the mirror.
It is best to purchase a standard phone holder that can be adjusted in height and holding position. You can also make a phone holder from wood bars or straws, but it is more time-consuming.

Step 5: Adjust The Image Position
Now try to turn on your smartphone and check the image reflected in the mirror. Adjust the phone holder so that the image perfectly fits the screen when projected through the magnifying glass.
Remember that the glass will flip the image; thereby, you should flip your phone upside-down. If the image is not perfect, try moving the phone closer or far away from the lens.
Related: How To Connect Ipad To Projector?
Step 6: Cover The Homemade Project In Cardboard
As I have mentioned above, the ambient light can ruin the quality of the projected image. If your room has windows or lamps, cover the surrounding of your phone by placing it in the cardboard.
In a dark environment, your device will give brighter and sharper images.
Step 7: Enjoy The Result
Now you have successfully constructed a homemade projector with a mirror.
As the box can block the sound from your smartphone, it is best to use wireless headphones or speakers.
FAQS
Here are some common questions people ask when making a homemade projector with a mirror.
How To Make The Projector Screen Bigger?
The fastest way is to move the phone further from the magnifying lens. If you don’t have any space left, try switching to another type of magnifying glass to get a better viewing angle.
Which Lens Needed In A Homemade Projector?
The ideal option is the convex lens or optical lens that contains two spherical surfaces. It can focus the beams of light passing through to a point on the other side.
How To Make My Projector Clearer?
Open your phone setting and increase its brightness to maximum to get the highest quality image. If the image is blurred, try moving your projector closer to the wall and covering it from the ambient light in your room.
Final Thoughts
A homemade projector will save you a lot of money and help you enjoy your favorite TV shows. We hope that you can successfully make a homemade projector with a mirror based on this instruction. Thank you for reading!